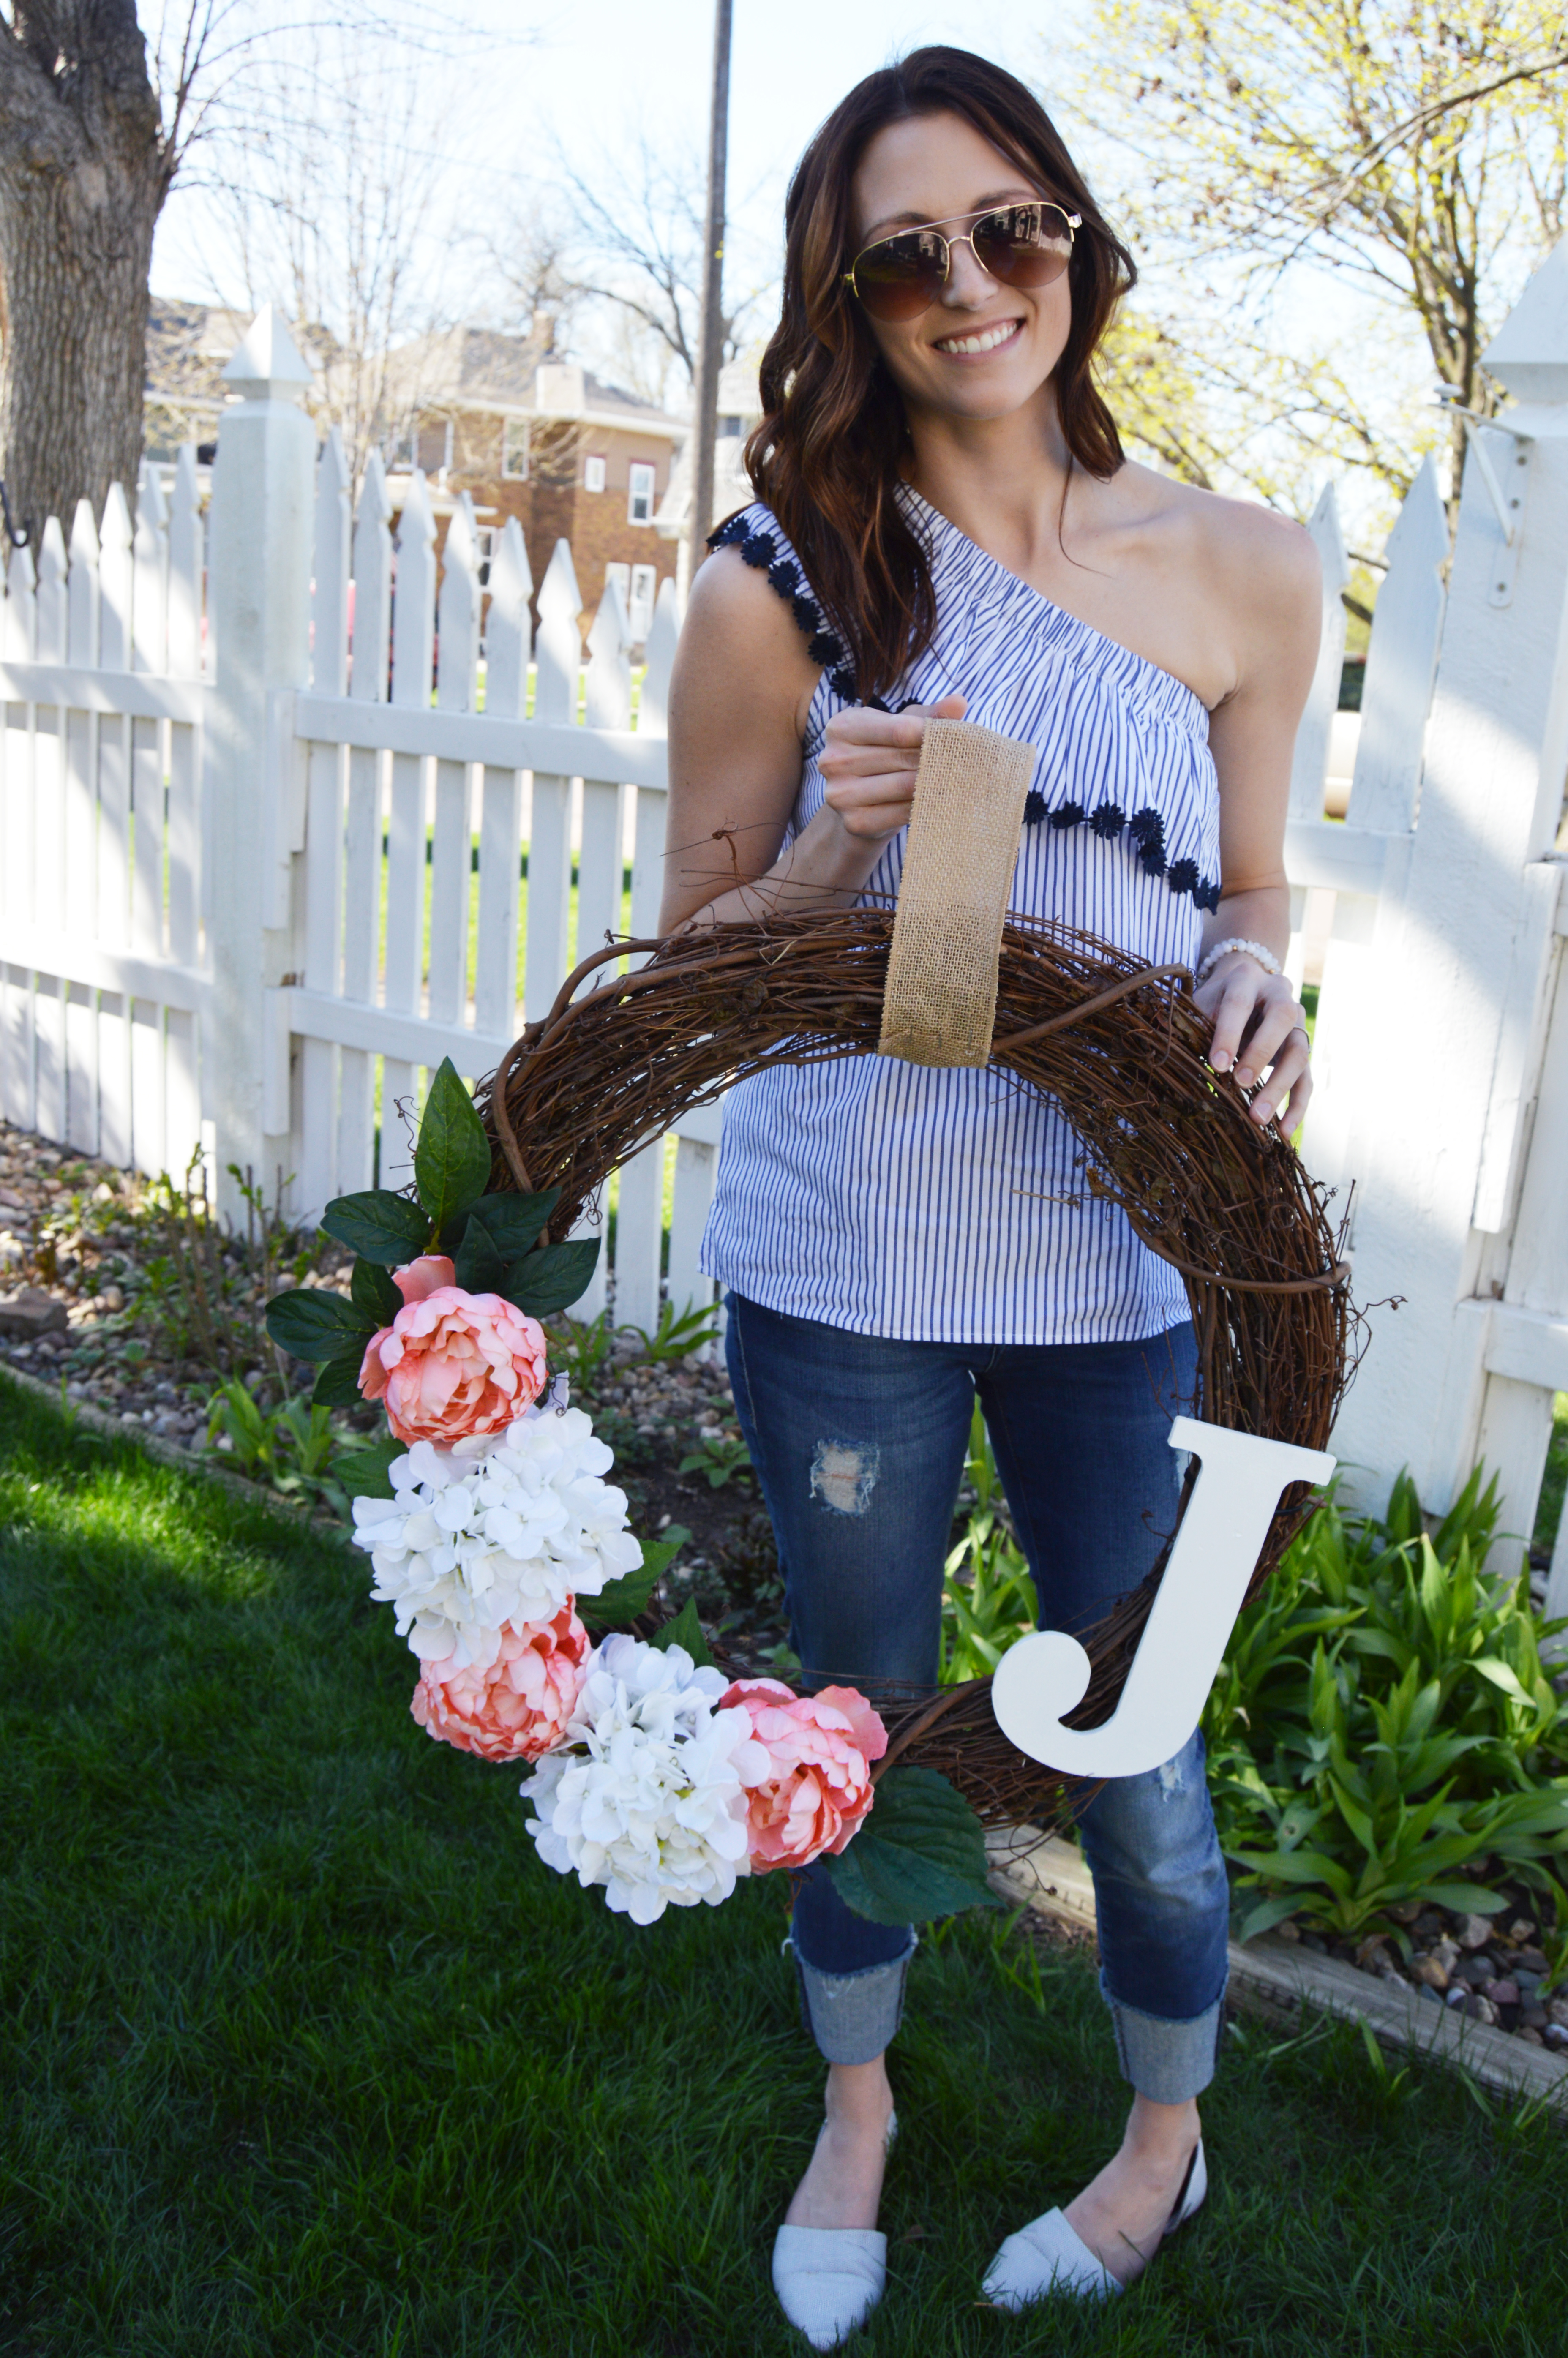
Happy {almost} Mother’s Day! I did something a little different for the occasion and I hope you enjoy it.
My husband’s side likes to do a little DIY/Pinterest project when we get together for holidays or birthdays. For Easter, we did this super cute and simple wreath! But I thought this would make such a fun activity for you and the mamas in your life to do together OR to make as a gift!
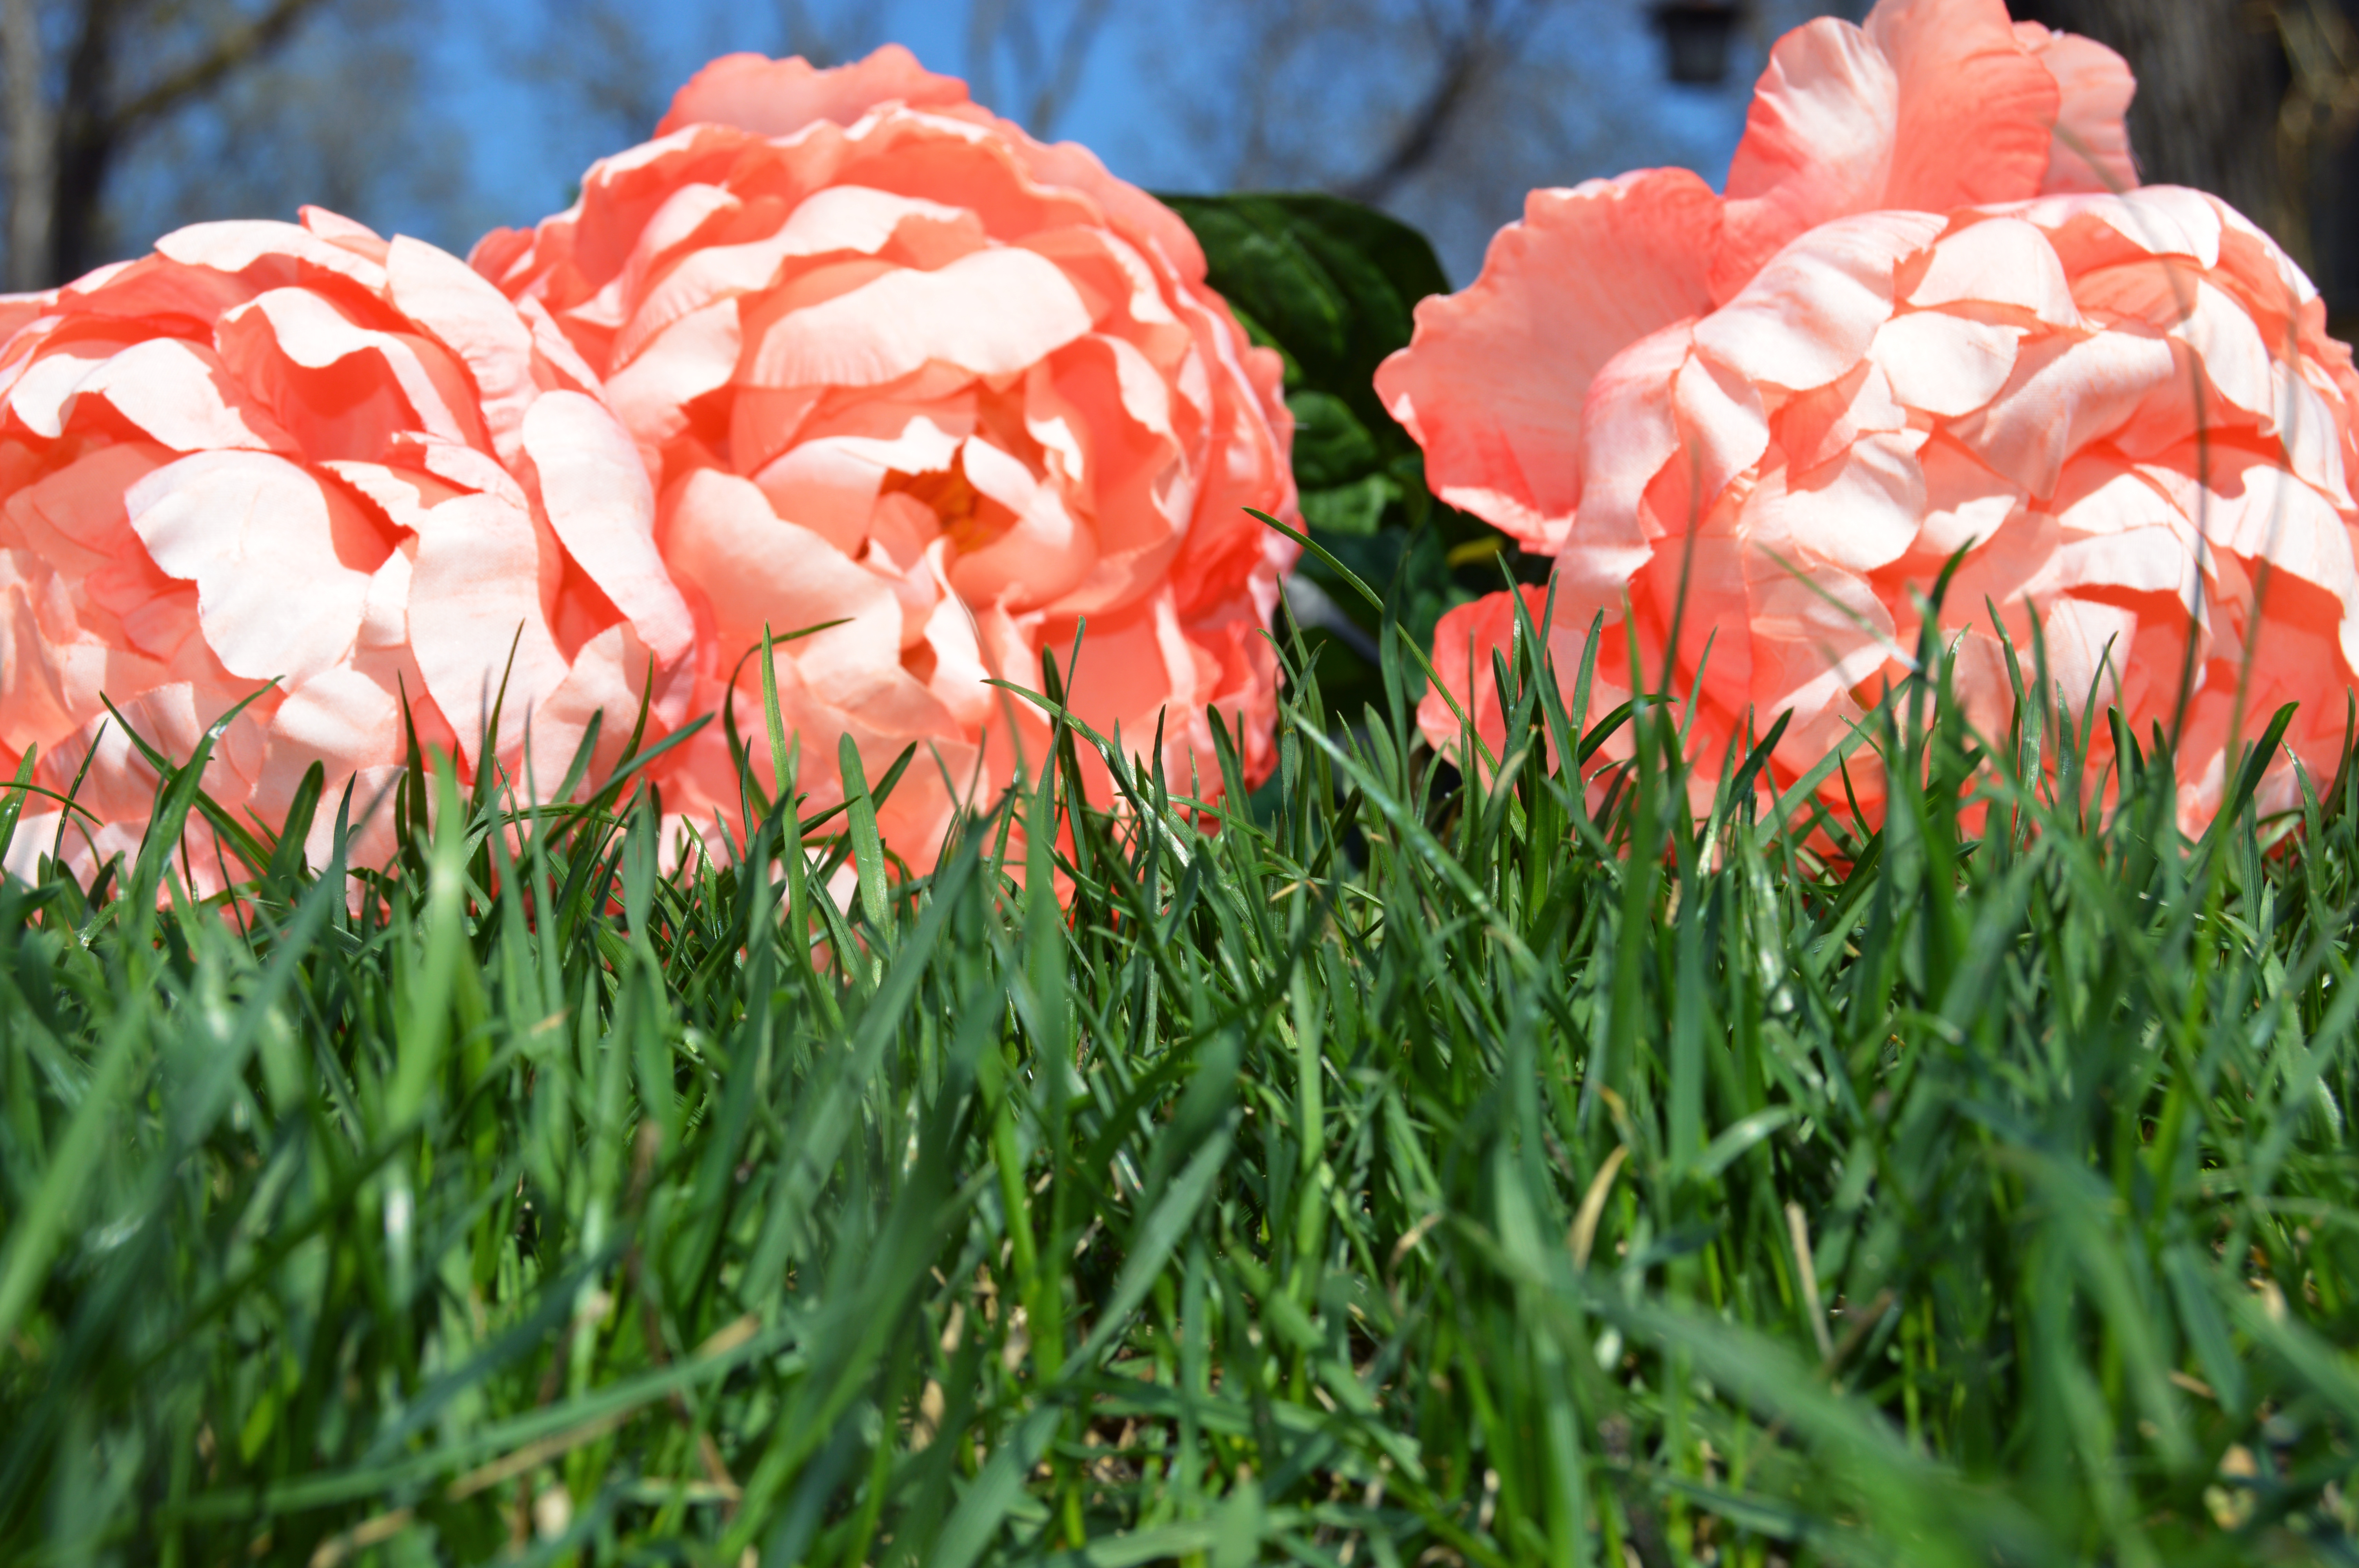
Overall the cost was about $40. All necessary items are available at Hobby Lobby so it’s a one-stop shop. And seriously… you cannot mess this up. If I can do it: you can do it. This is a total Pinterest win. No Pinterest fails here!
| SUPPLIES |
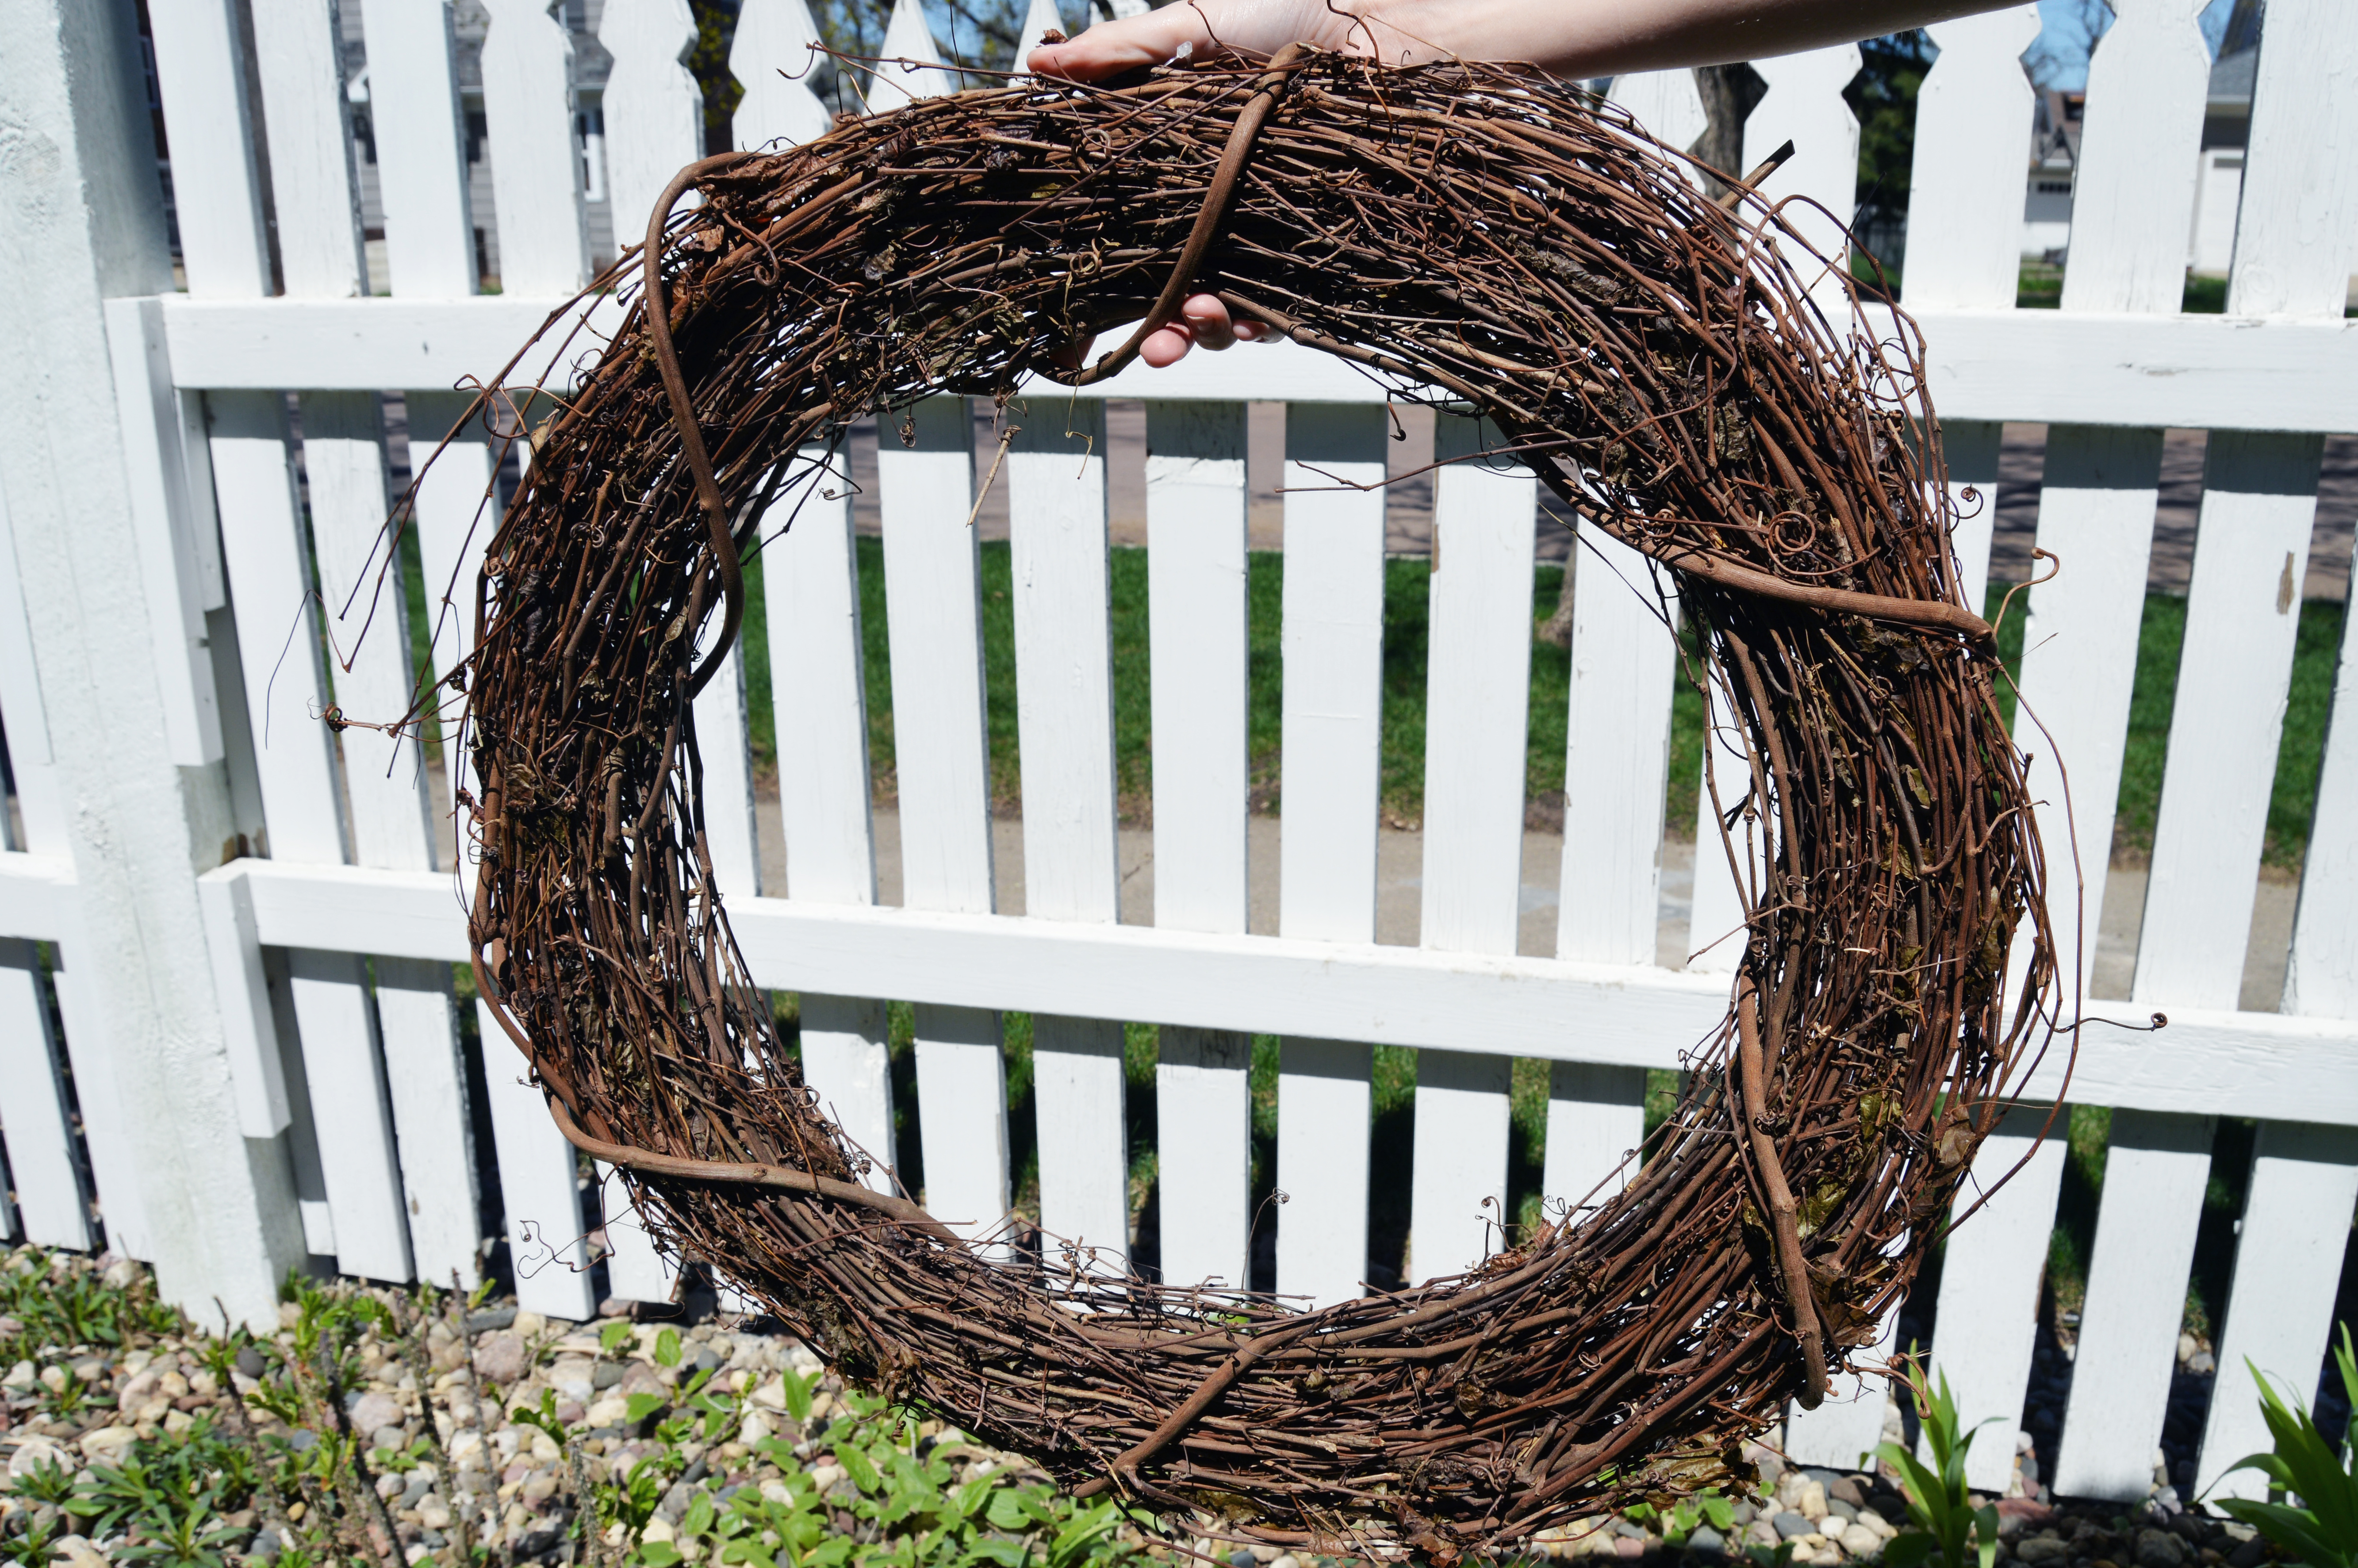
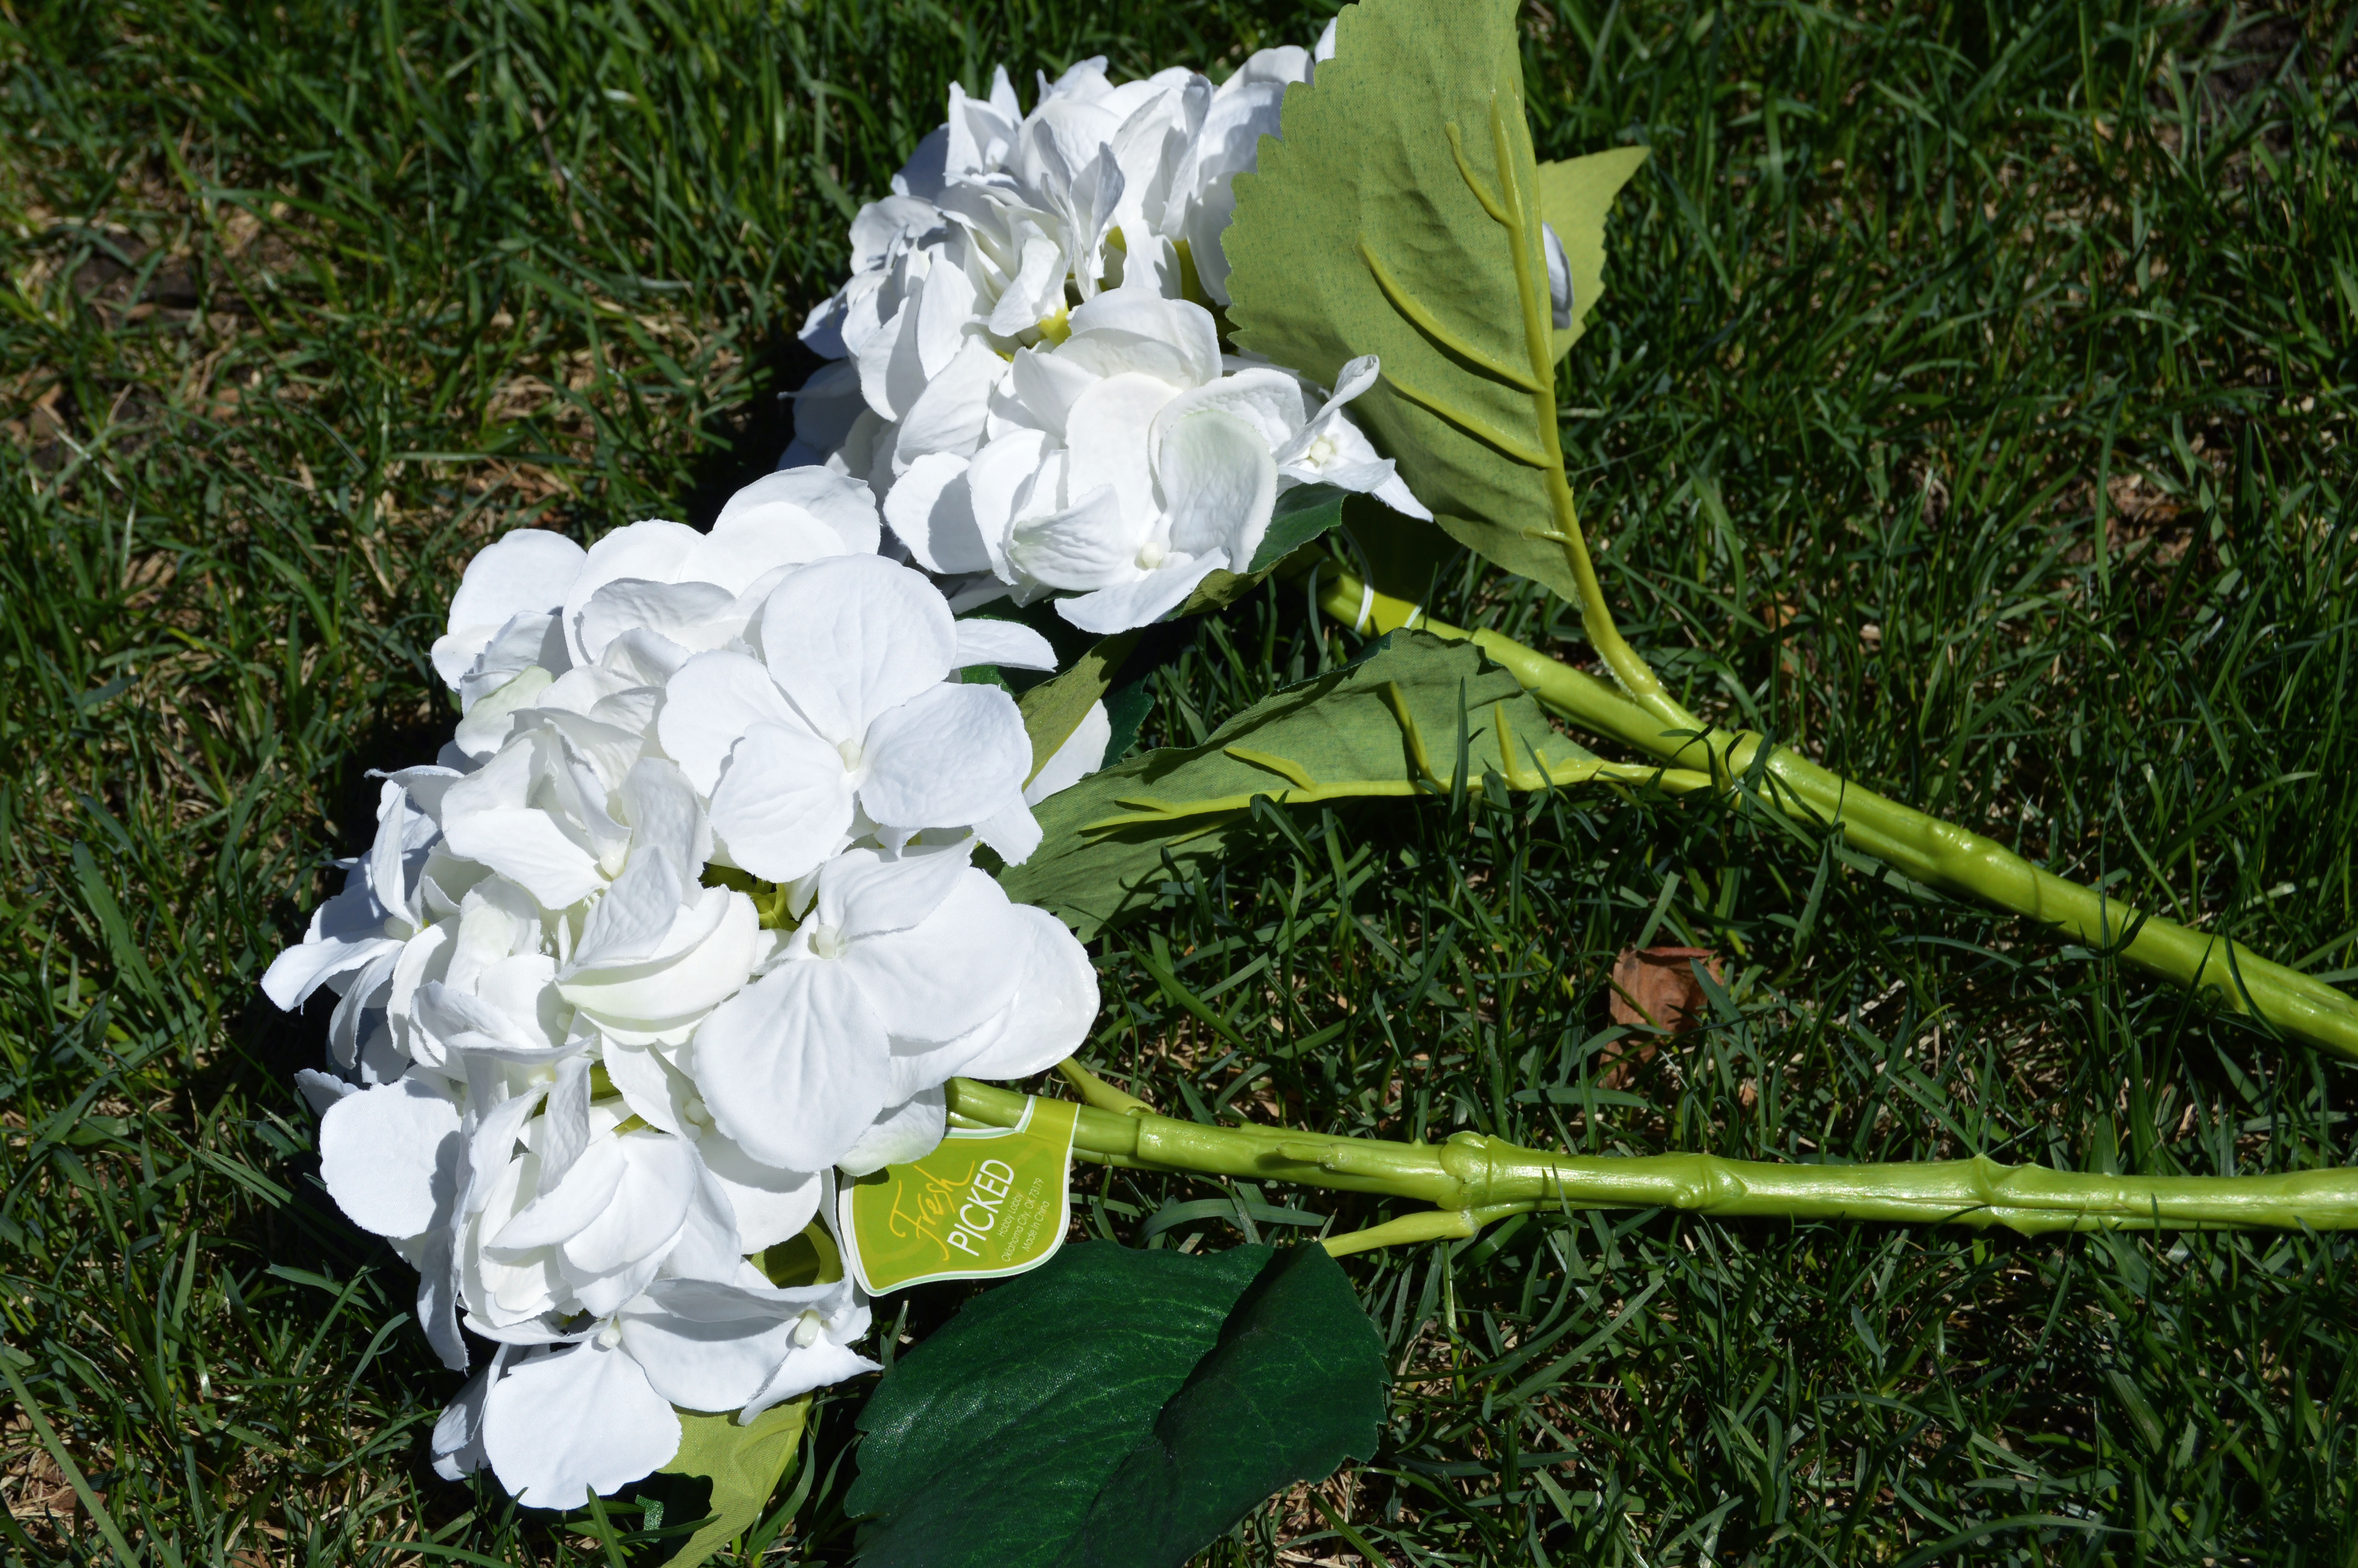
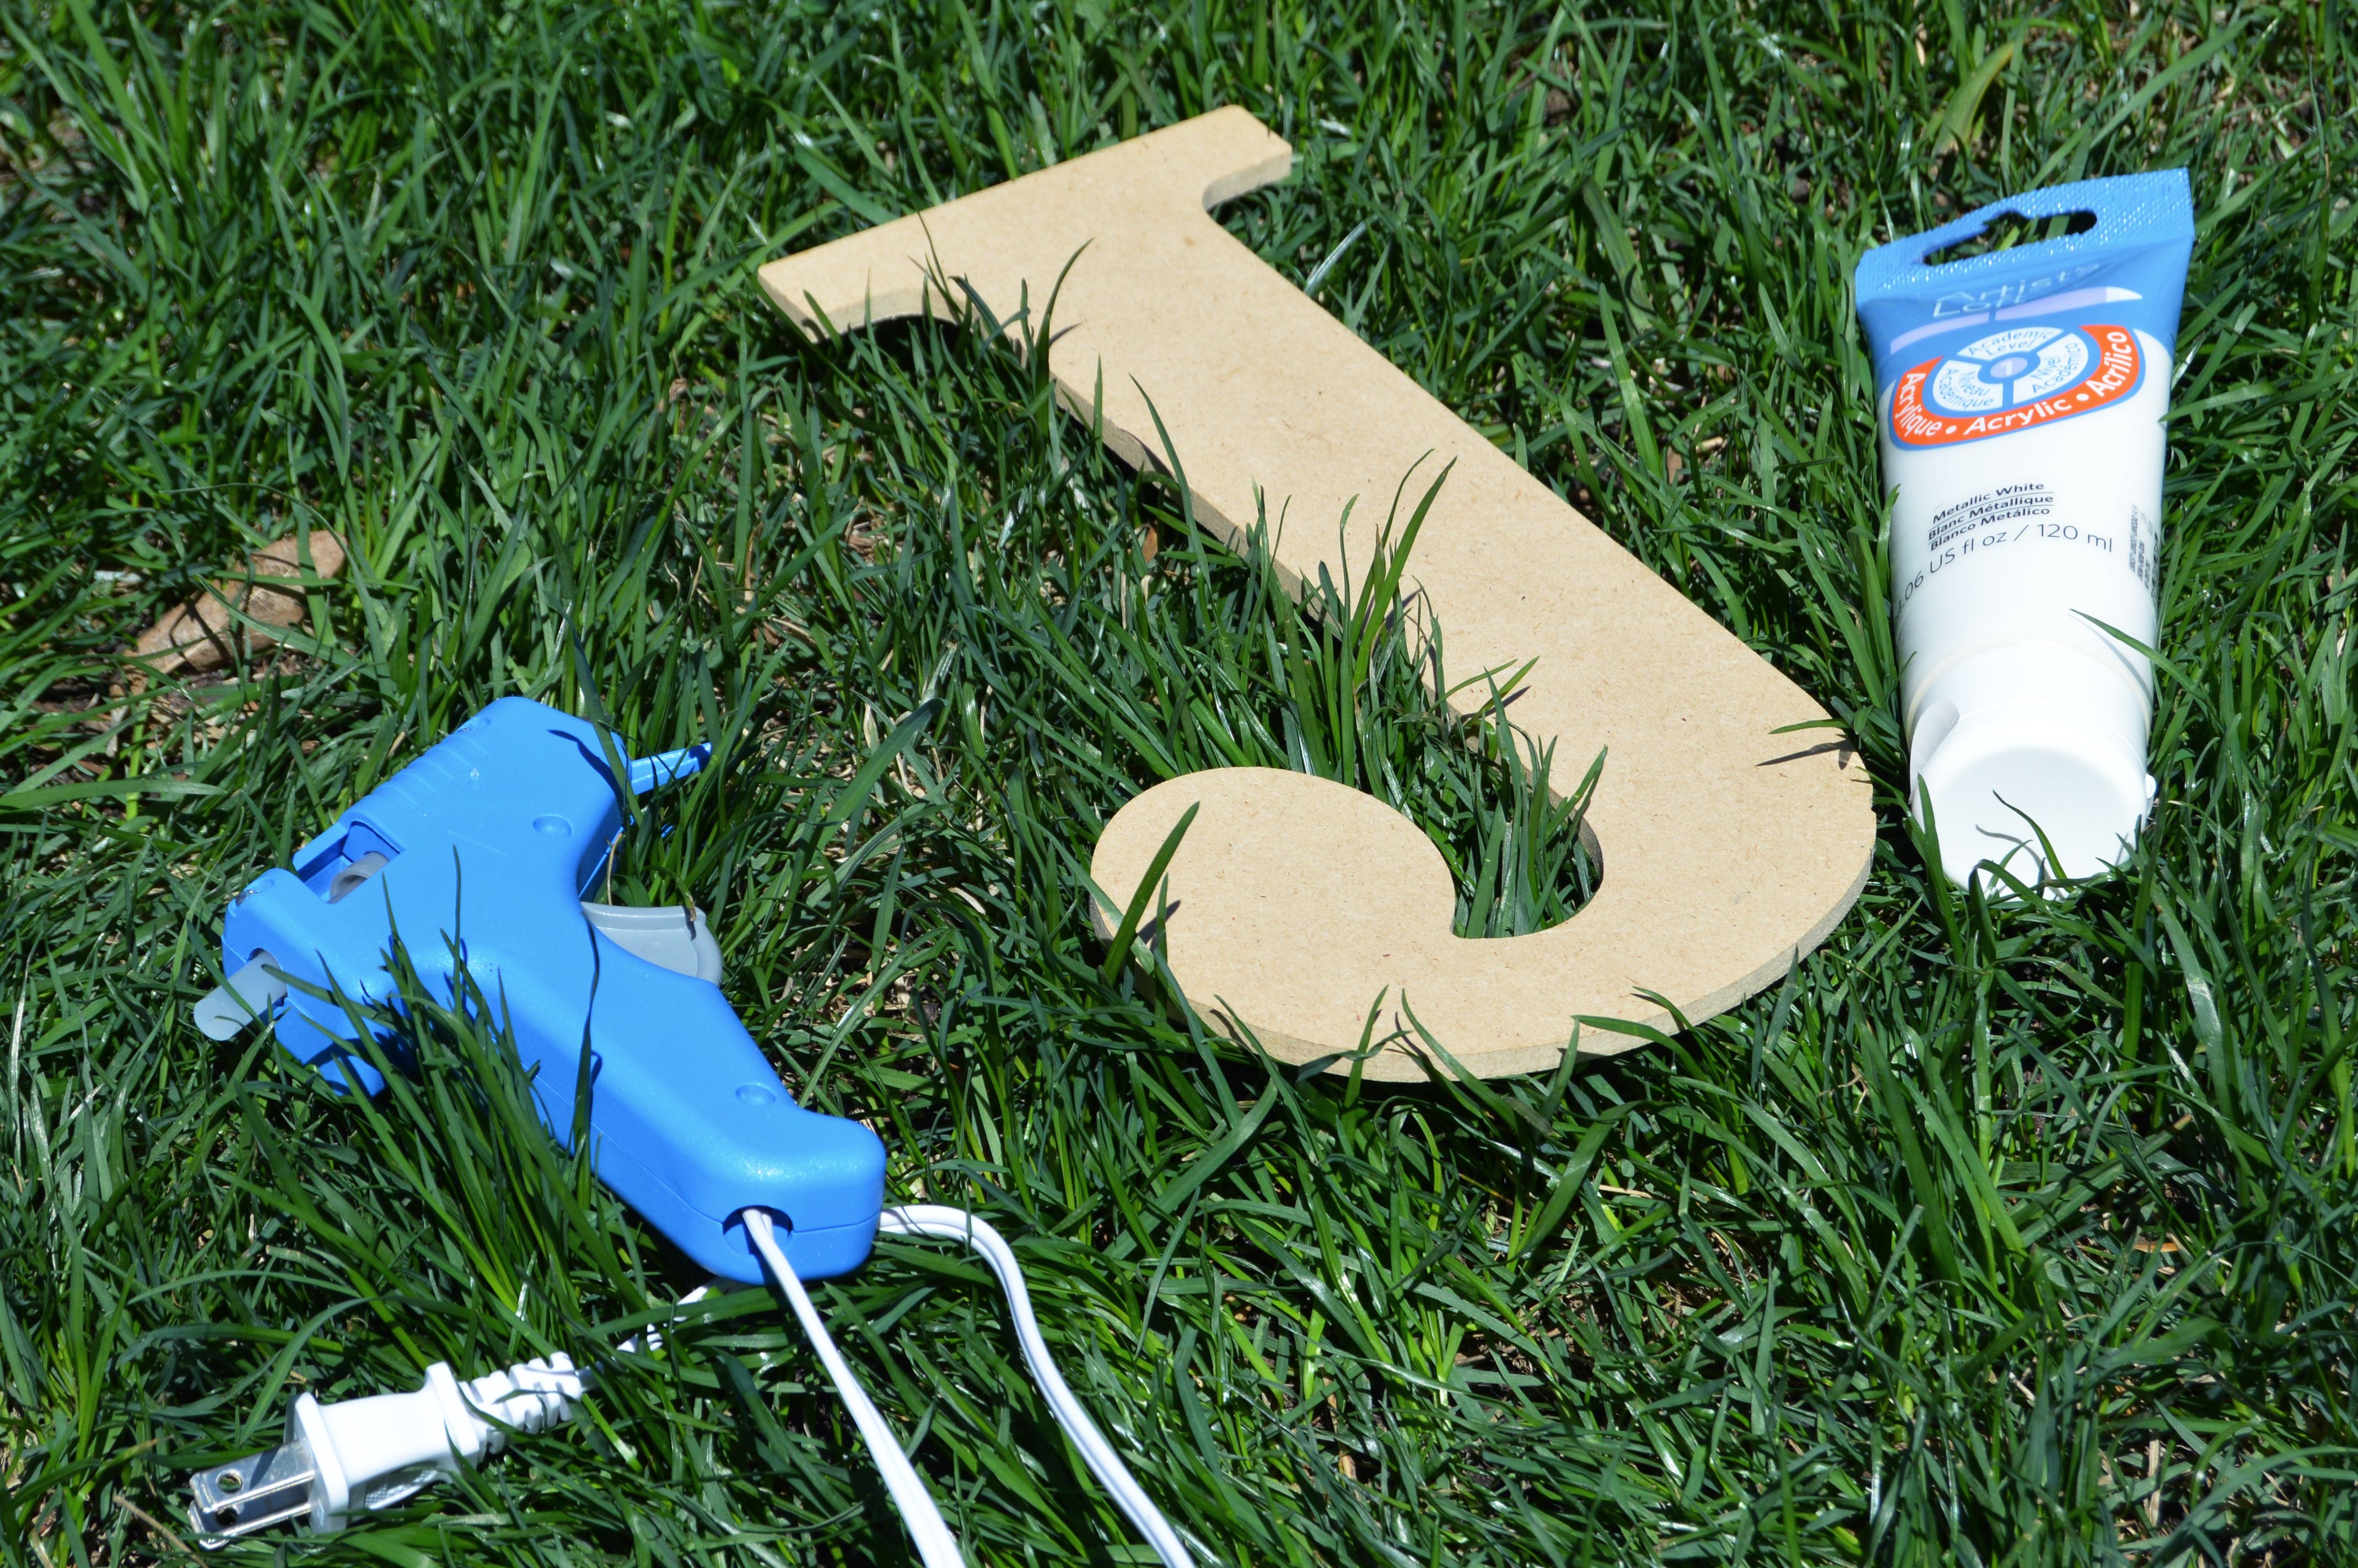
24″ Wreath // 2 Hydrangea stems // 3 Peony stems // Wire Cutter // Glue Gun & Glue Sticks // Wooden Letter // Ribbon {optional} // White Paint // Sponge Brush // 2 Zip Ties // Stapler
| STEP BY STEP |
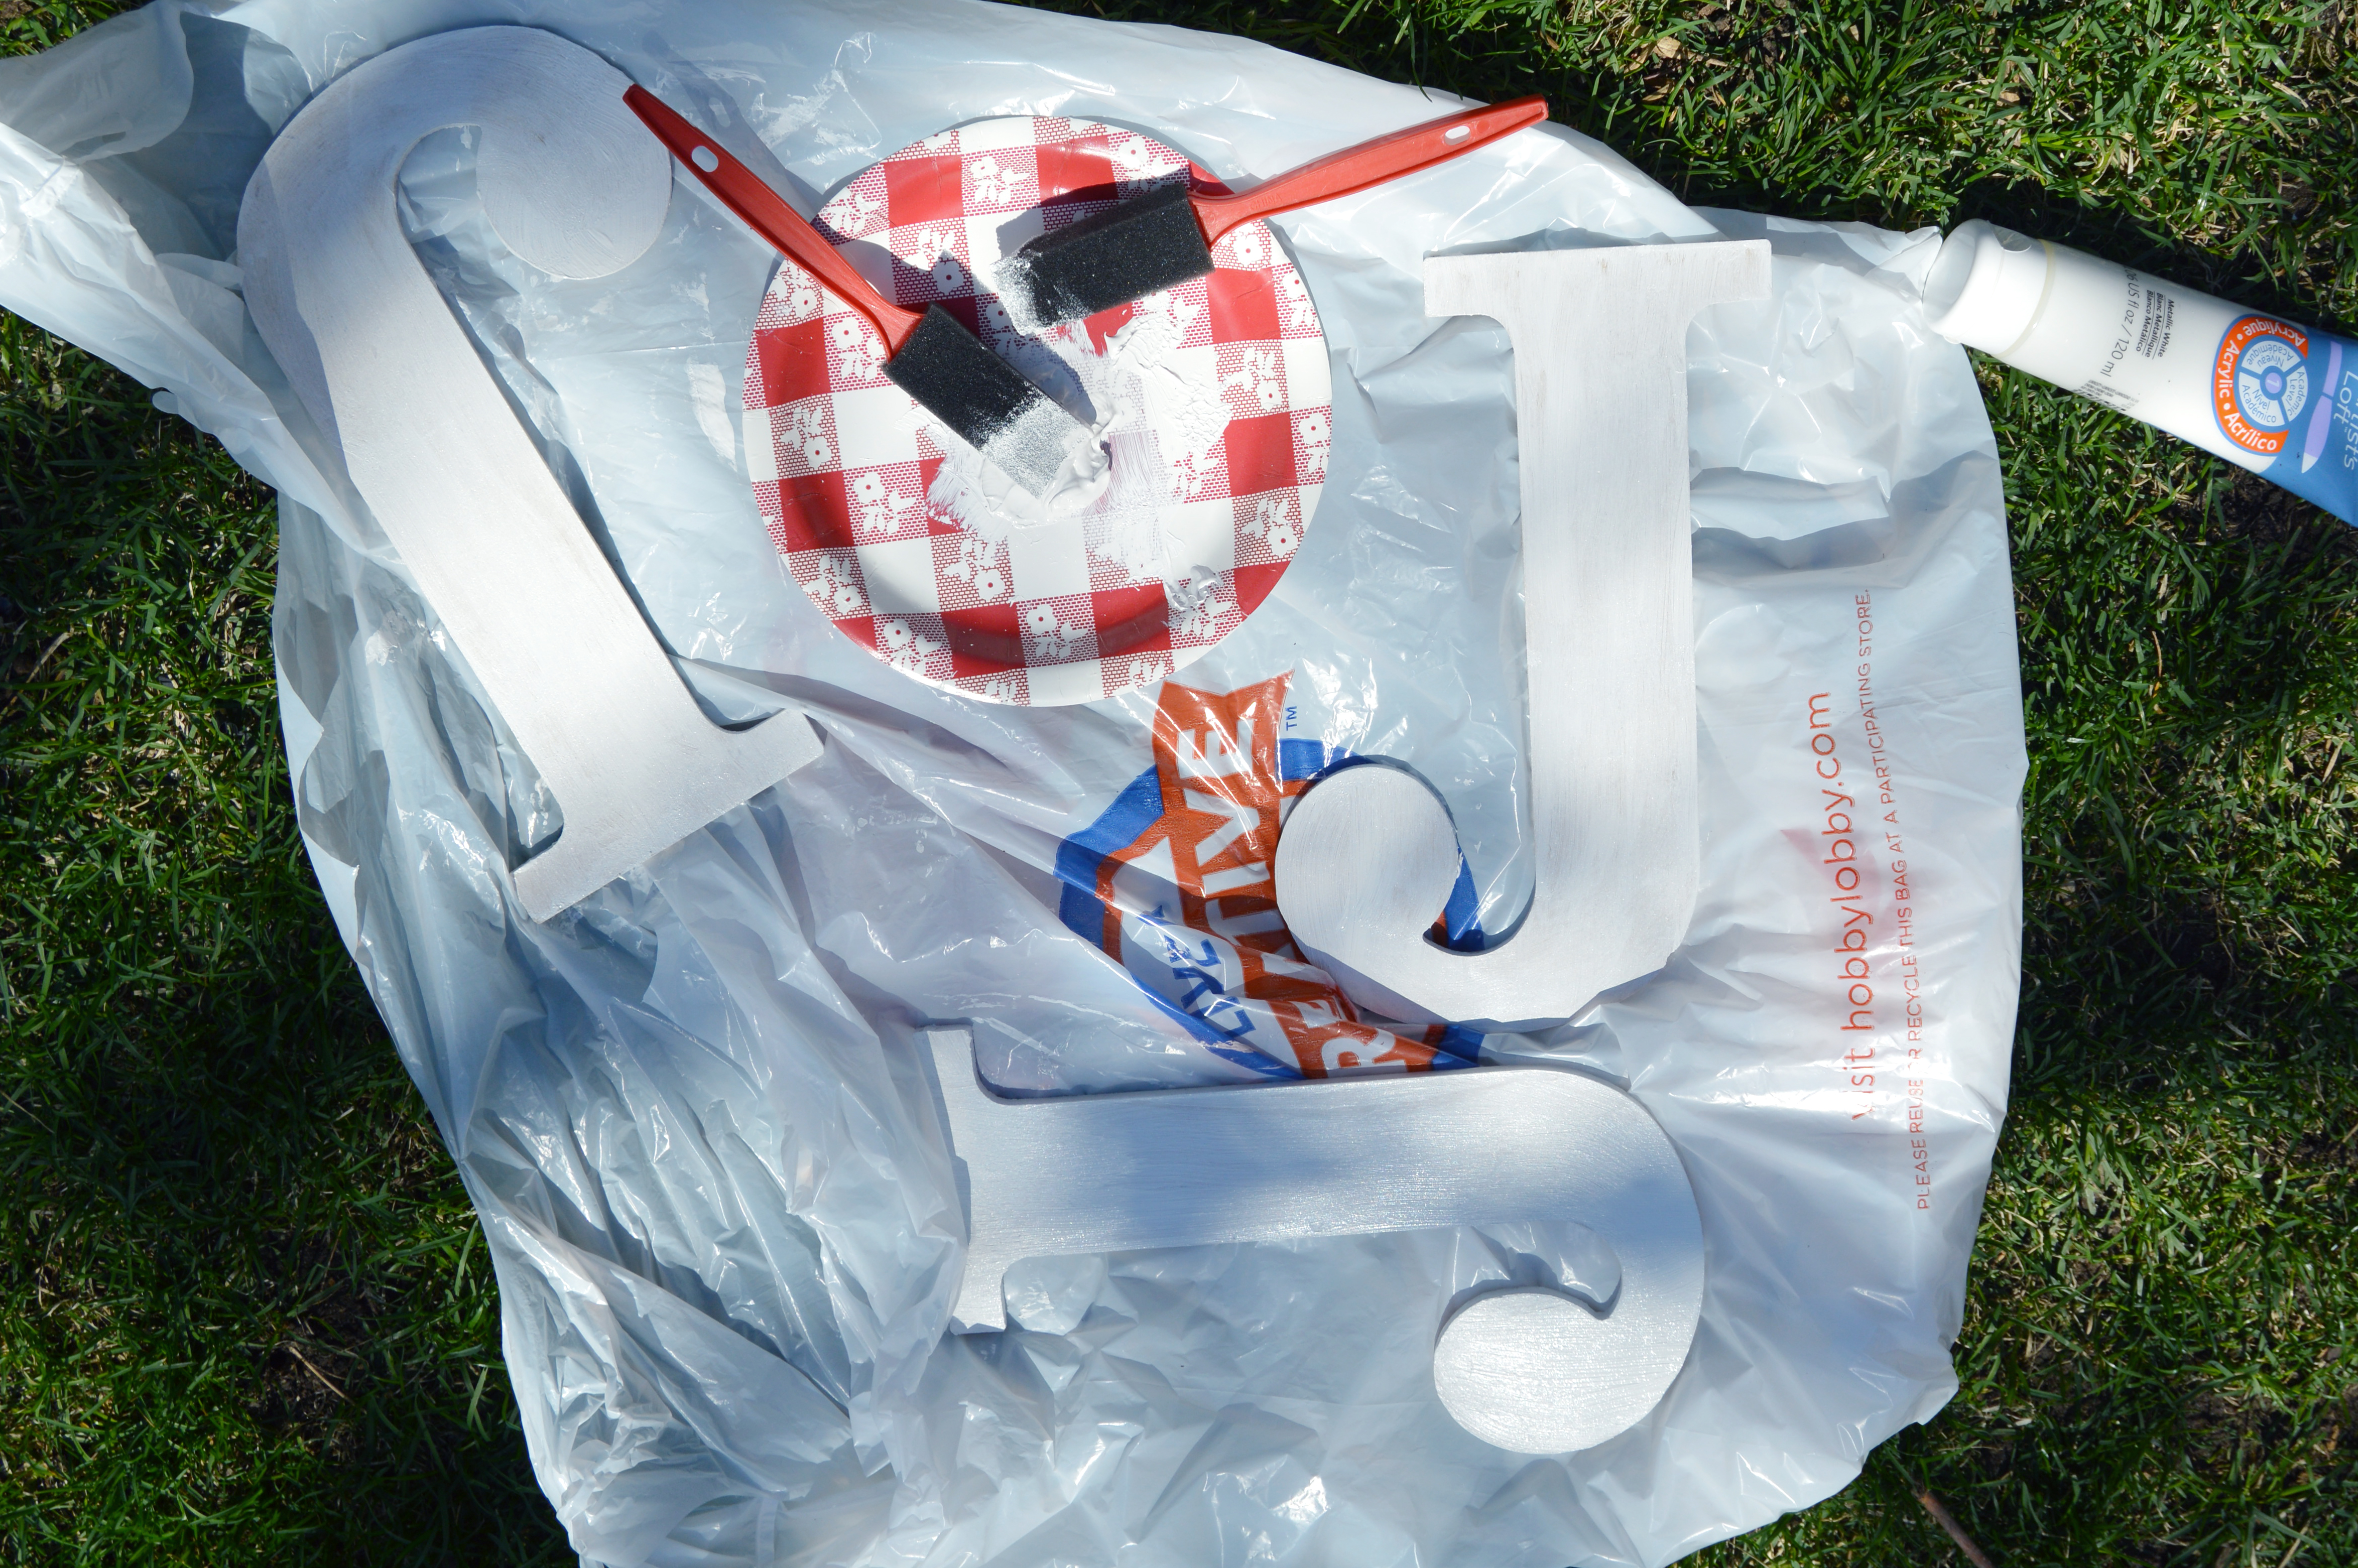
1.) Start by painting the wooden letter so that they dry while you’re working on the rest of the project. We did two coats and that covered well.
2.) Cut the flower stems down about 3/4 of the way down the stem. We also pulled off the leaves but saved them to put behind the flowers once they were in place.
3.) Stick the stems through the wreath. Alternate between the hydrangea and peony stems so they’re laid out every other on the wreath. Then cut the rest of the stem down so they don’t stick out the back side.
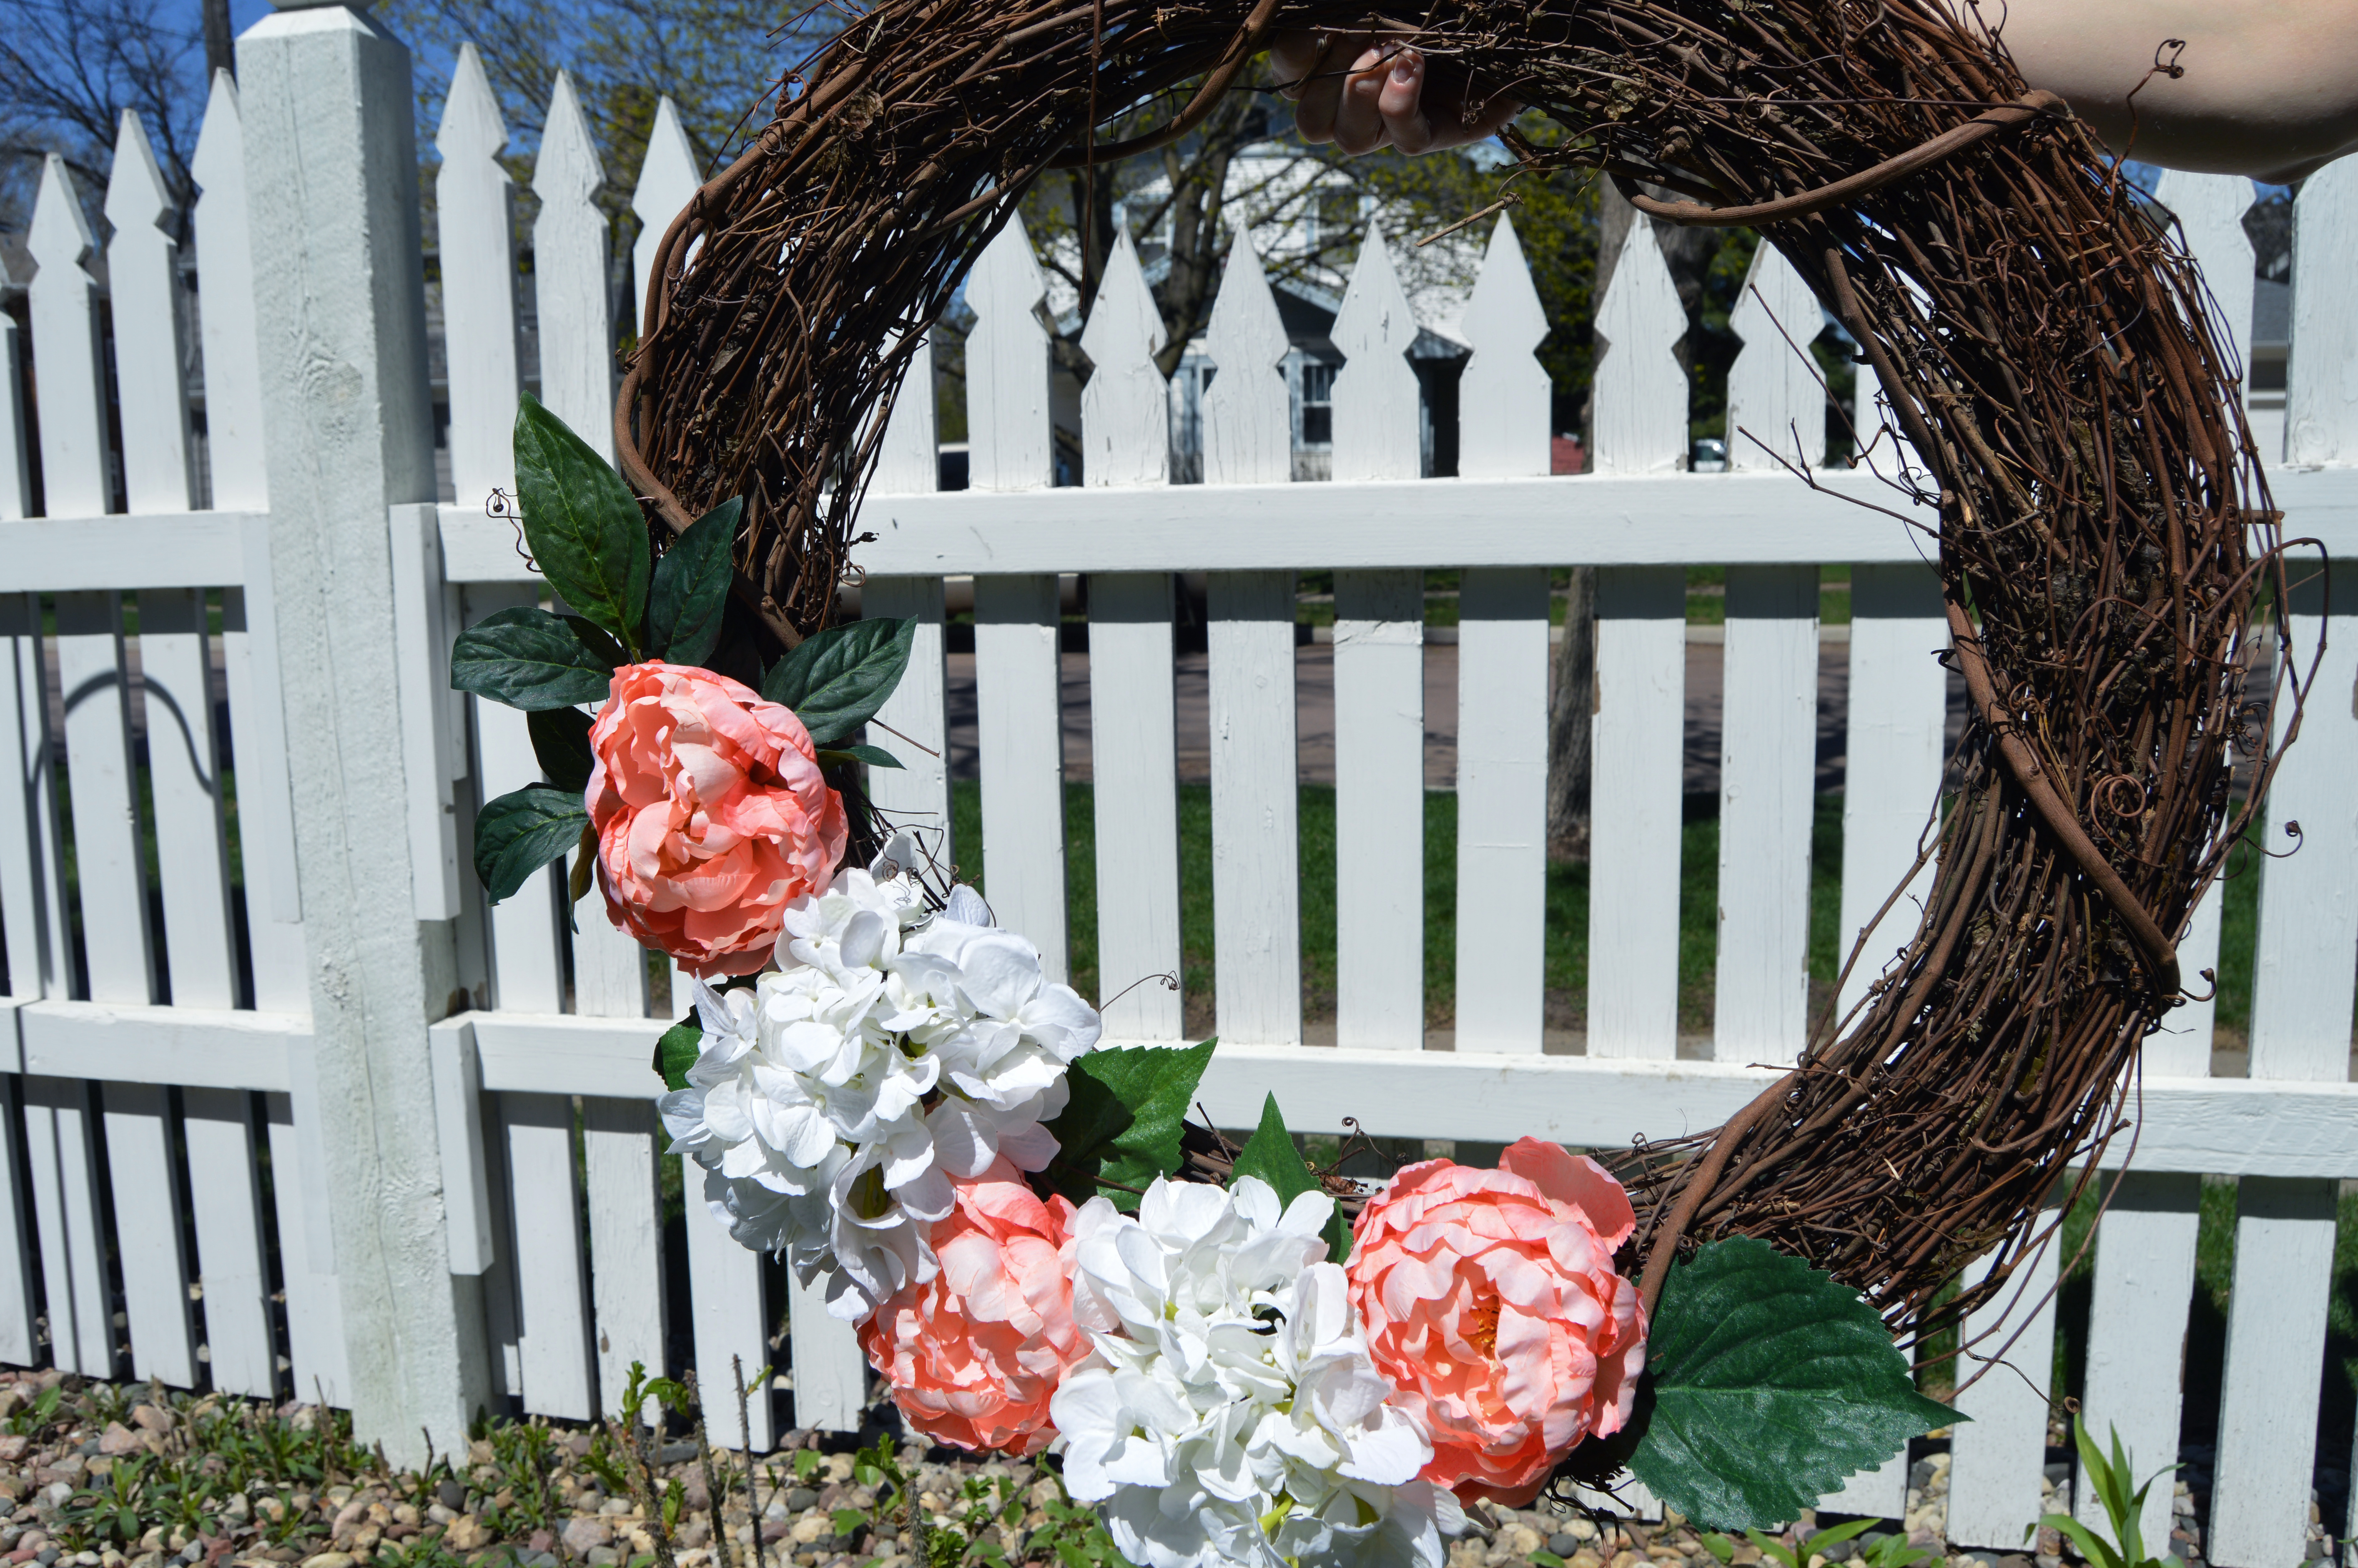
4.) Once you like the placement of your flowers, hot glue the back of them to the twigs of the wreath. That’s when we brought the leaves back in and placed those to fill in around the flowers. Hot glue the leaves so they stay put.
Then it should look like this:
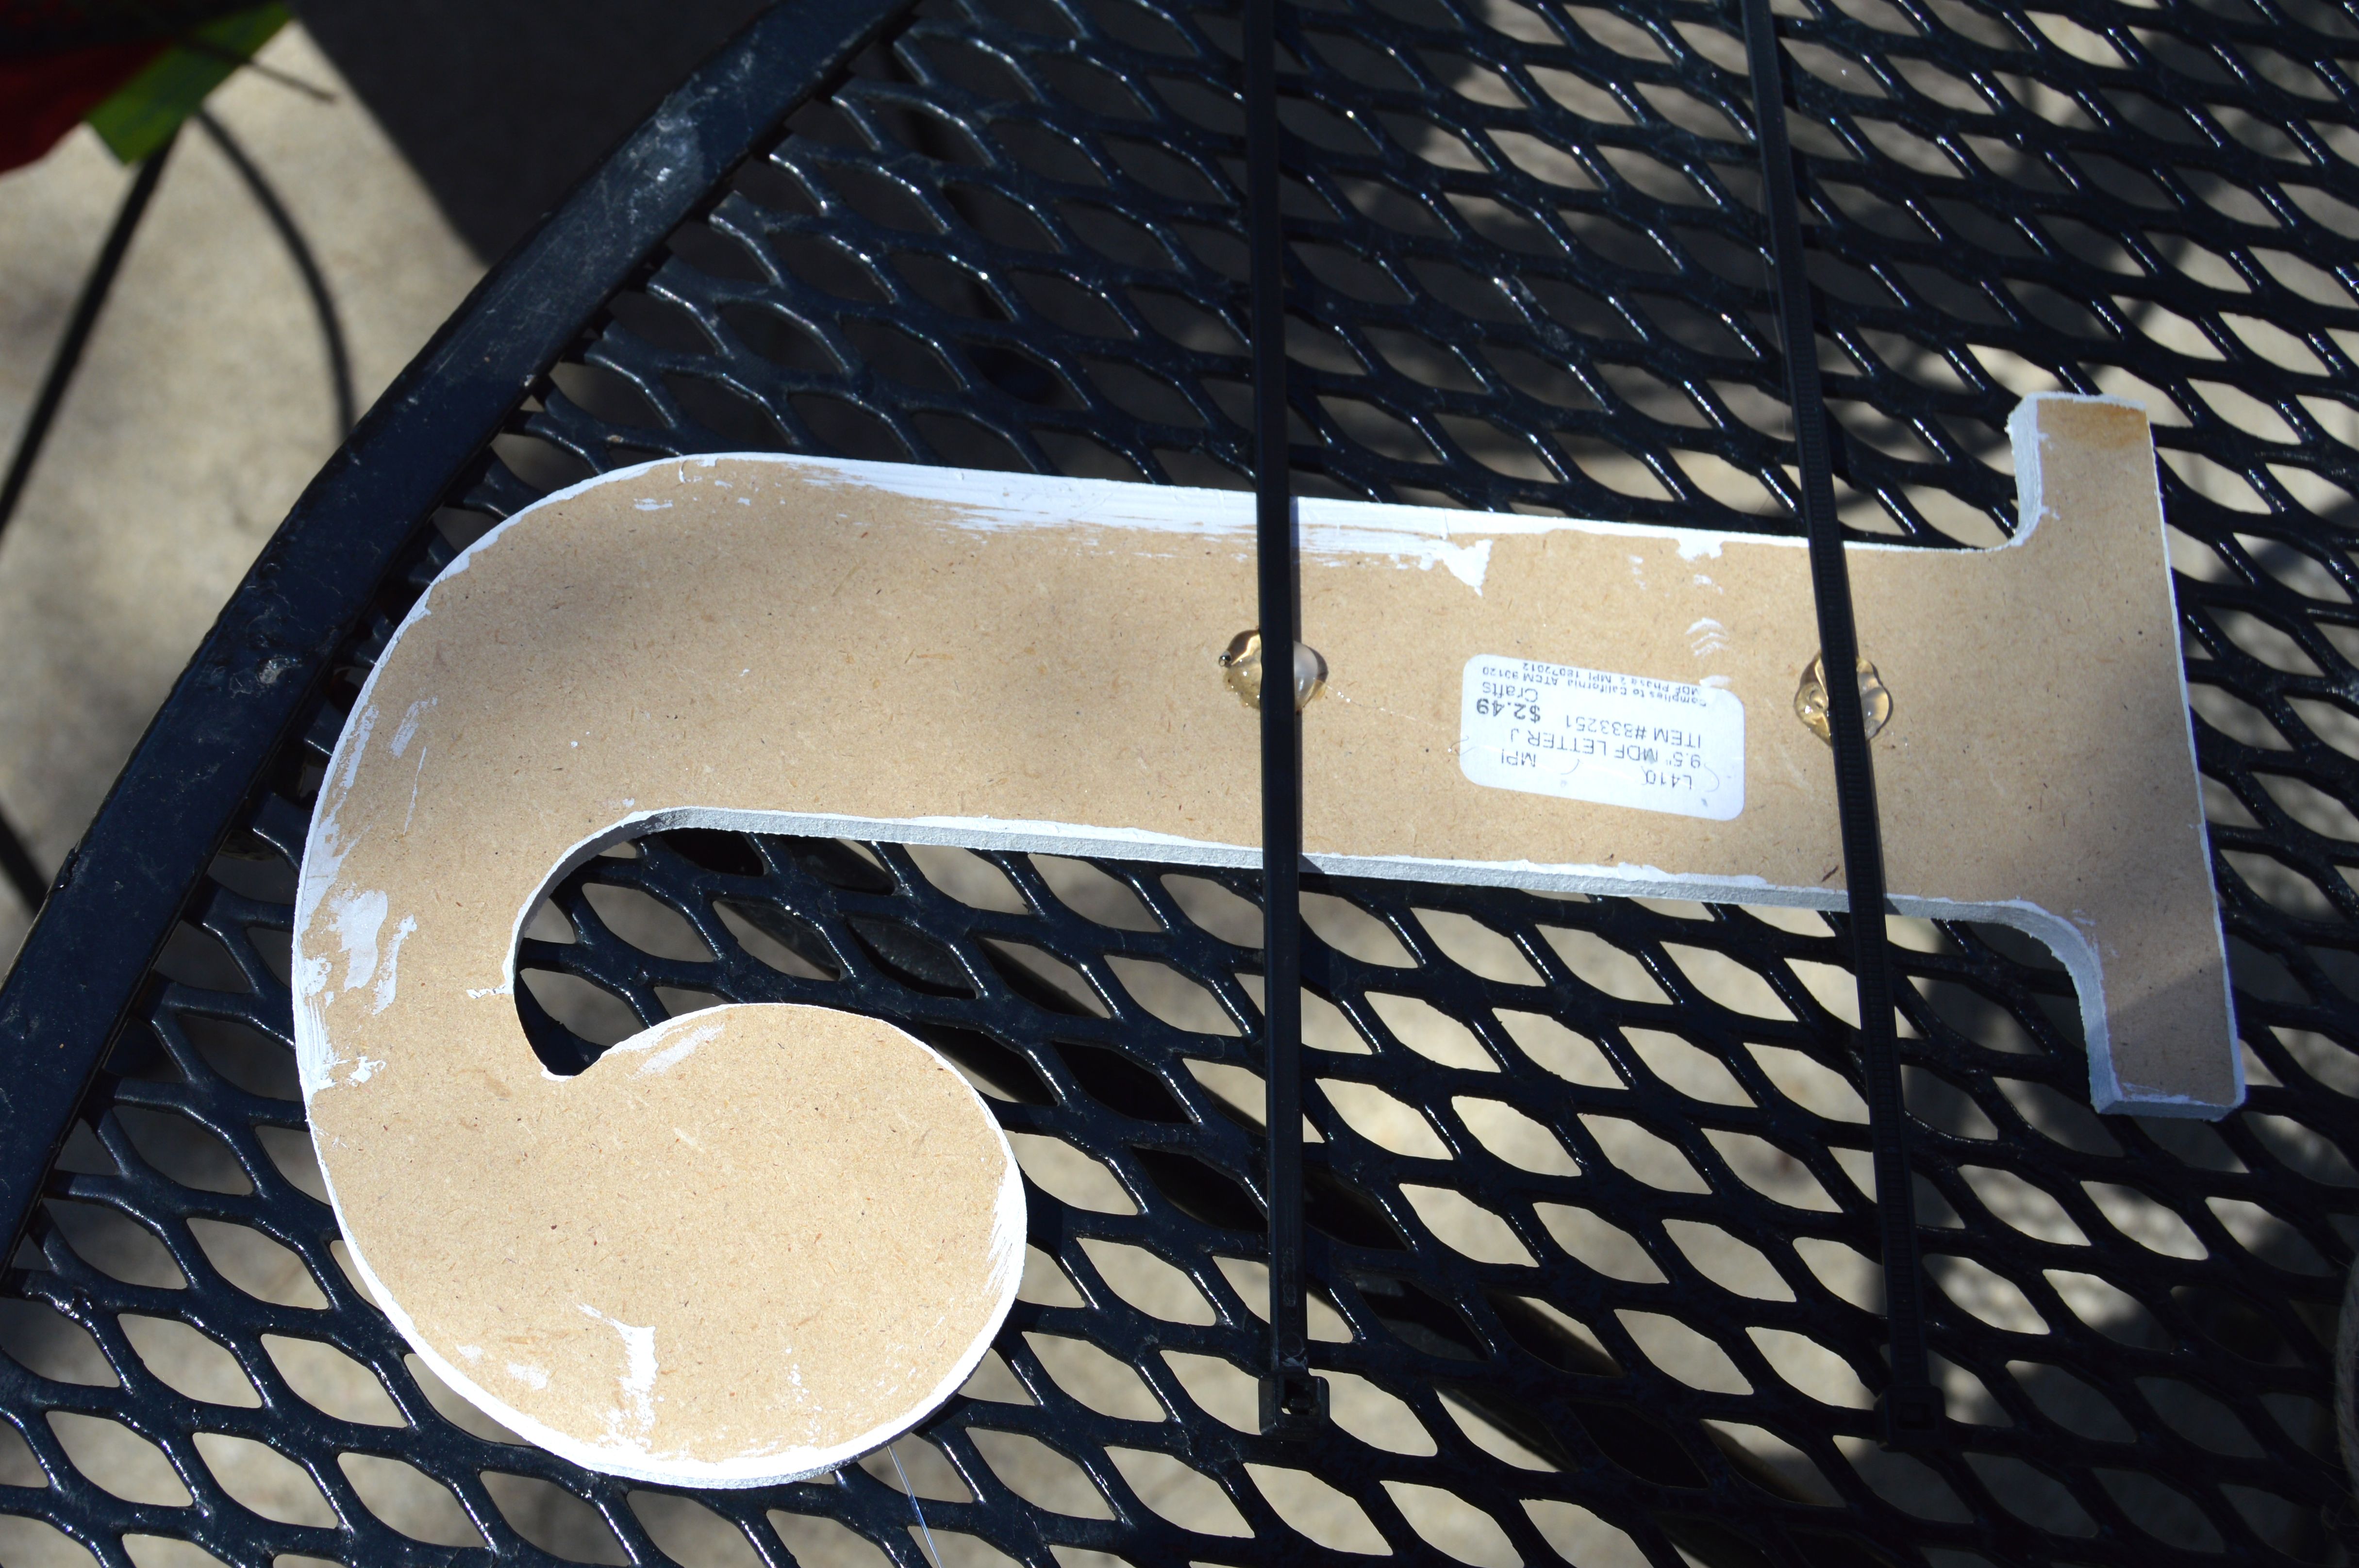
5.) When the letter has dried, glue two zip ties to the top and bottom of the letter {see photo below} then attached it to the wreath. We placed ours on the opposite side {but still toward the bottom} from the flowers {shown in final product photo}.
6.) {Optional} If you foresee a need to hang the wreath with a ribbon, cut the ribbon to size for however long you want it to hang. Loop the ribbon through the wreath. We glued and stapled the ends of the ribbon together to make sure it would hold. I hid that portion behind the wreath so it looks more appealing.
And you’re done!
| FINAL PRODUCT |
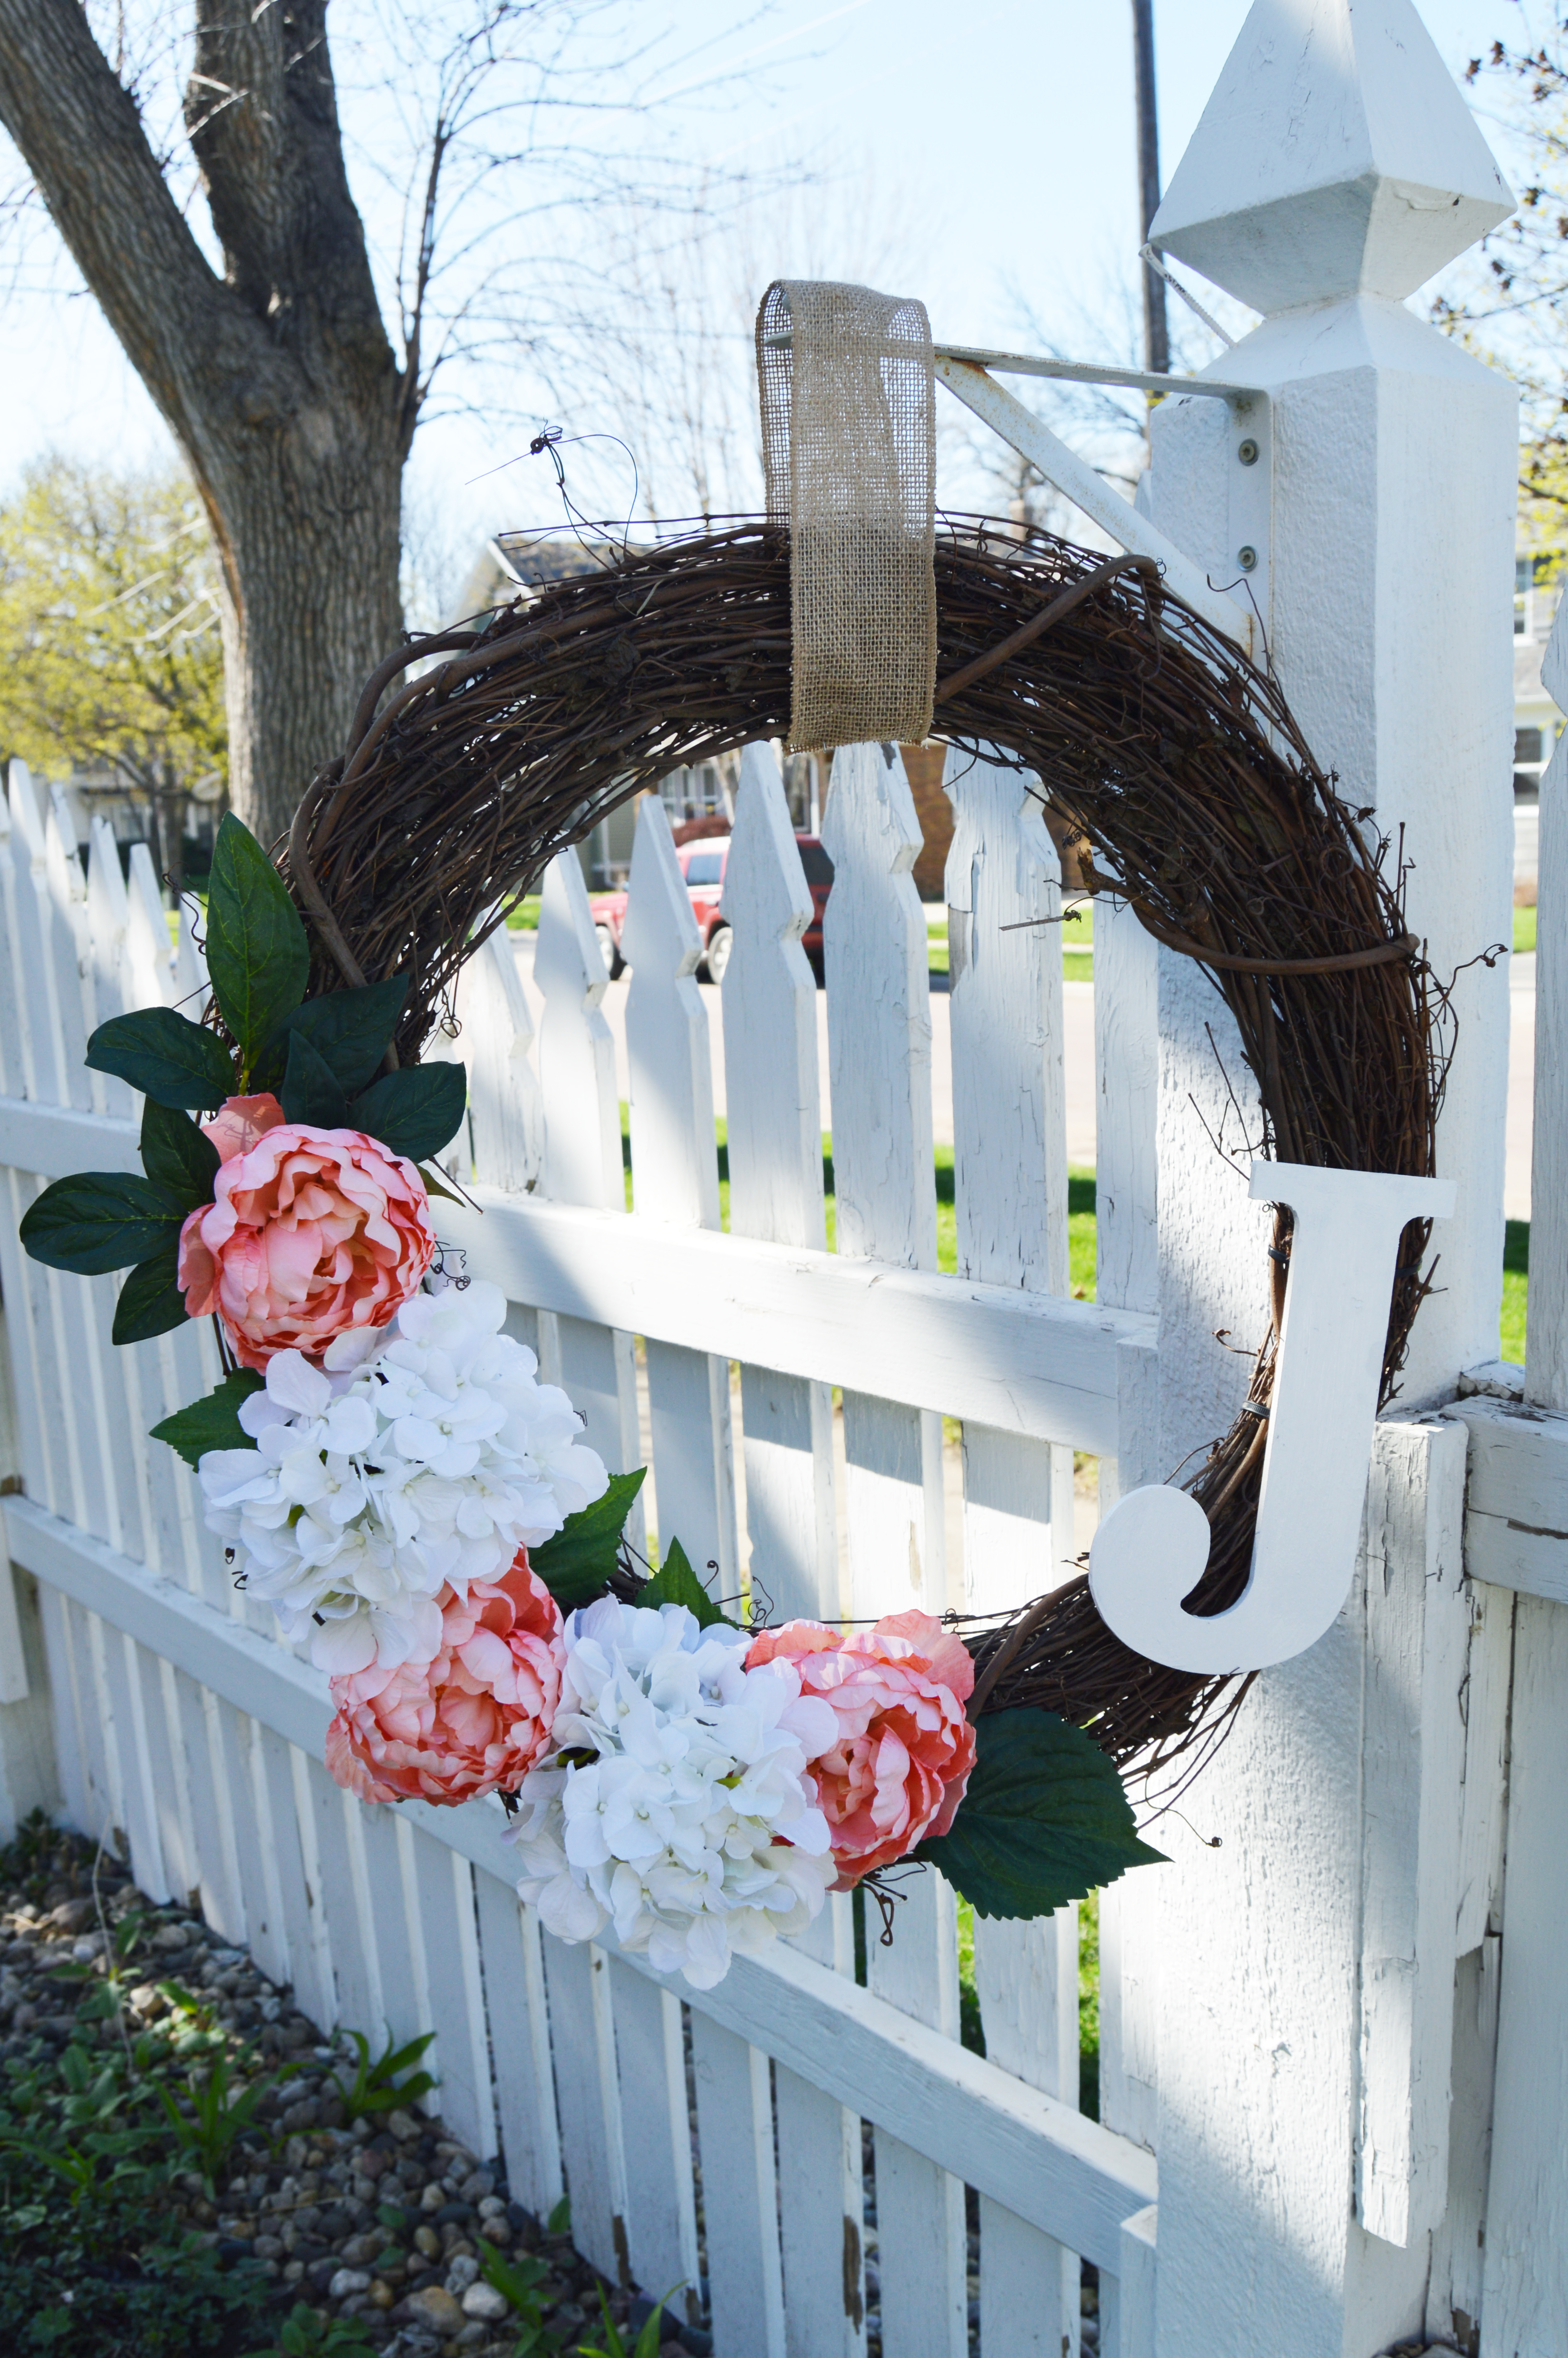
Between drying and assembly, this only took about a half hour to 45 minutes. Of course we had to execute while drinking wine. 😉
We had a blast and all of them turned out so cute! See where I’ve displayed mine here. The perfect project {or gift!} for mom!
xo
-M
 Reintroduction and Refresh of Midwest In Style
 2023 Nordstrom Sale – For Your Home
 Best Sellers of 2022
 Spring & Summer Work Wear


Leave a Reply